VMware Cloud Director – How to create a VM video RAM sizing policy in the UI and API

Sometimes there is a need to change items that fall outside of what is typically documented or what spending time clicking around the UI can solve. Enter the problem of setting VM video RAM in VCD.

To start solving this problem in the UI

  1. Login to the VCD Provider UI Portal
  2. Navigate to Resources > VM Sizing Policies
  3. Create a new policy
    1. Provide a policy name and description
    2. CPU and Memory can be left blank
    3. Under “Special VM Configuration Settings”
      1. add key svga.vramSize
      2. value for above key 134217728 < this value = 128MB feel free to change size as required during creation of policy. Policy sizing cannot by changed after creation

If someone prefers the API instead of the UI, give this a go

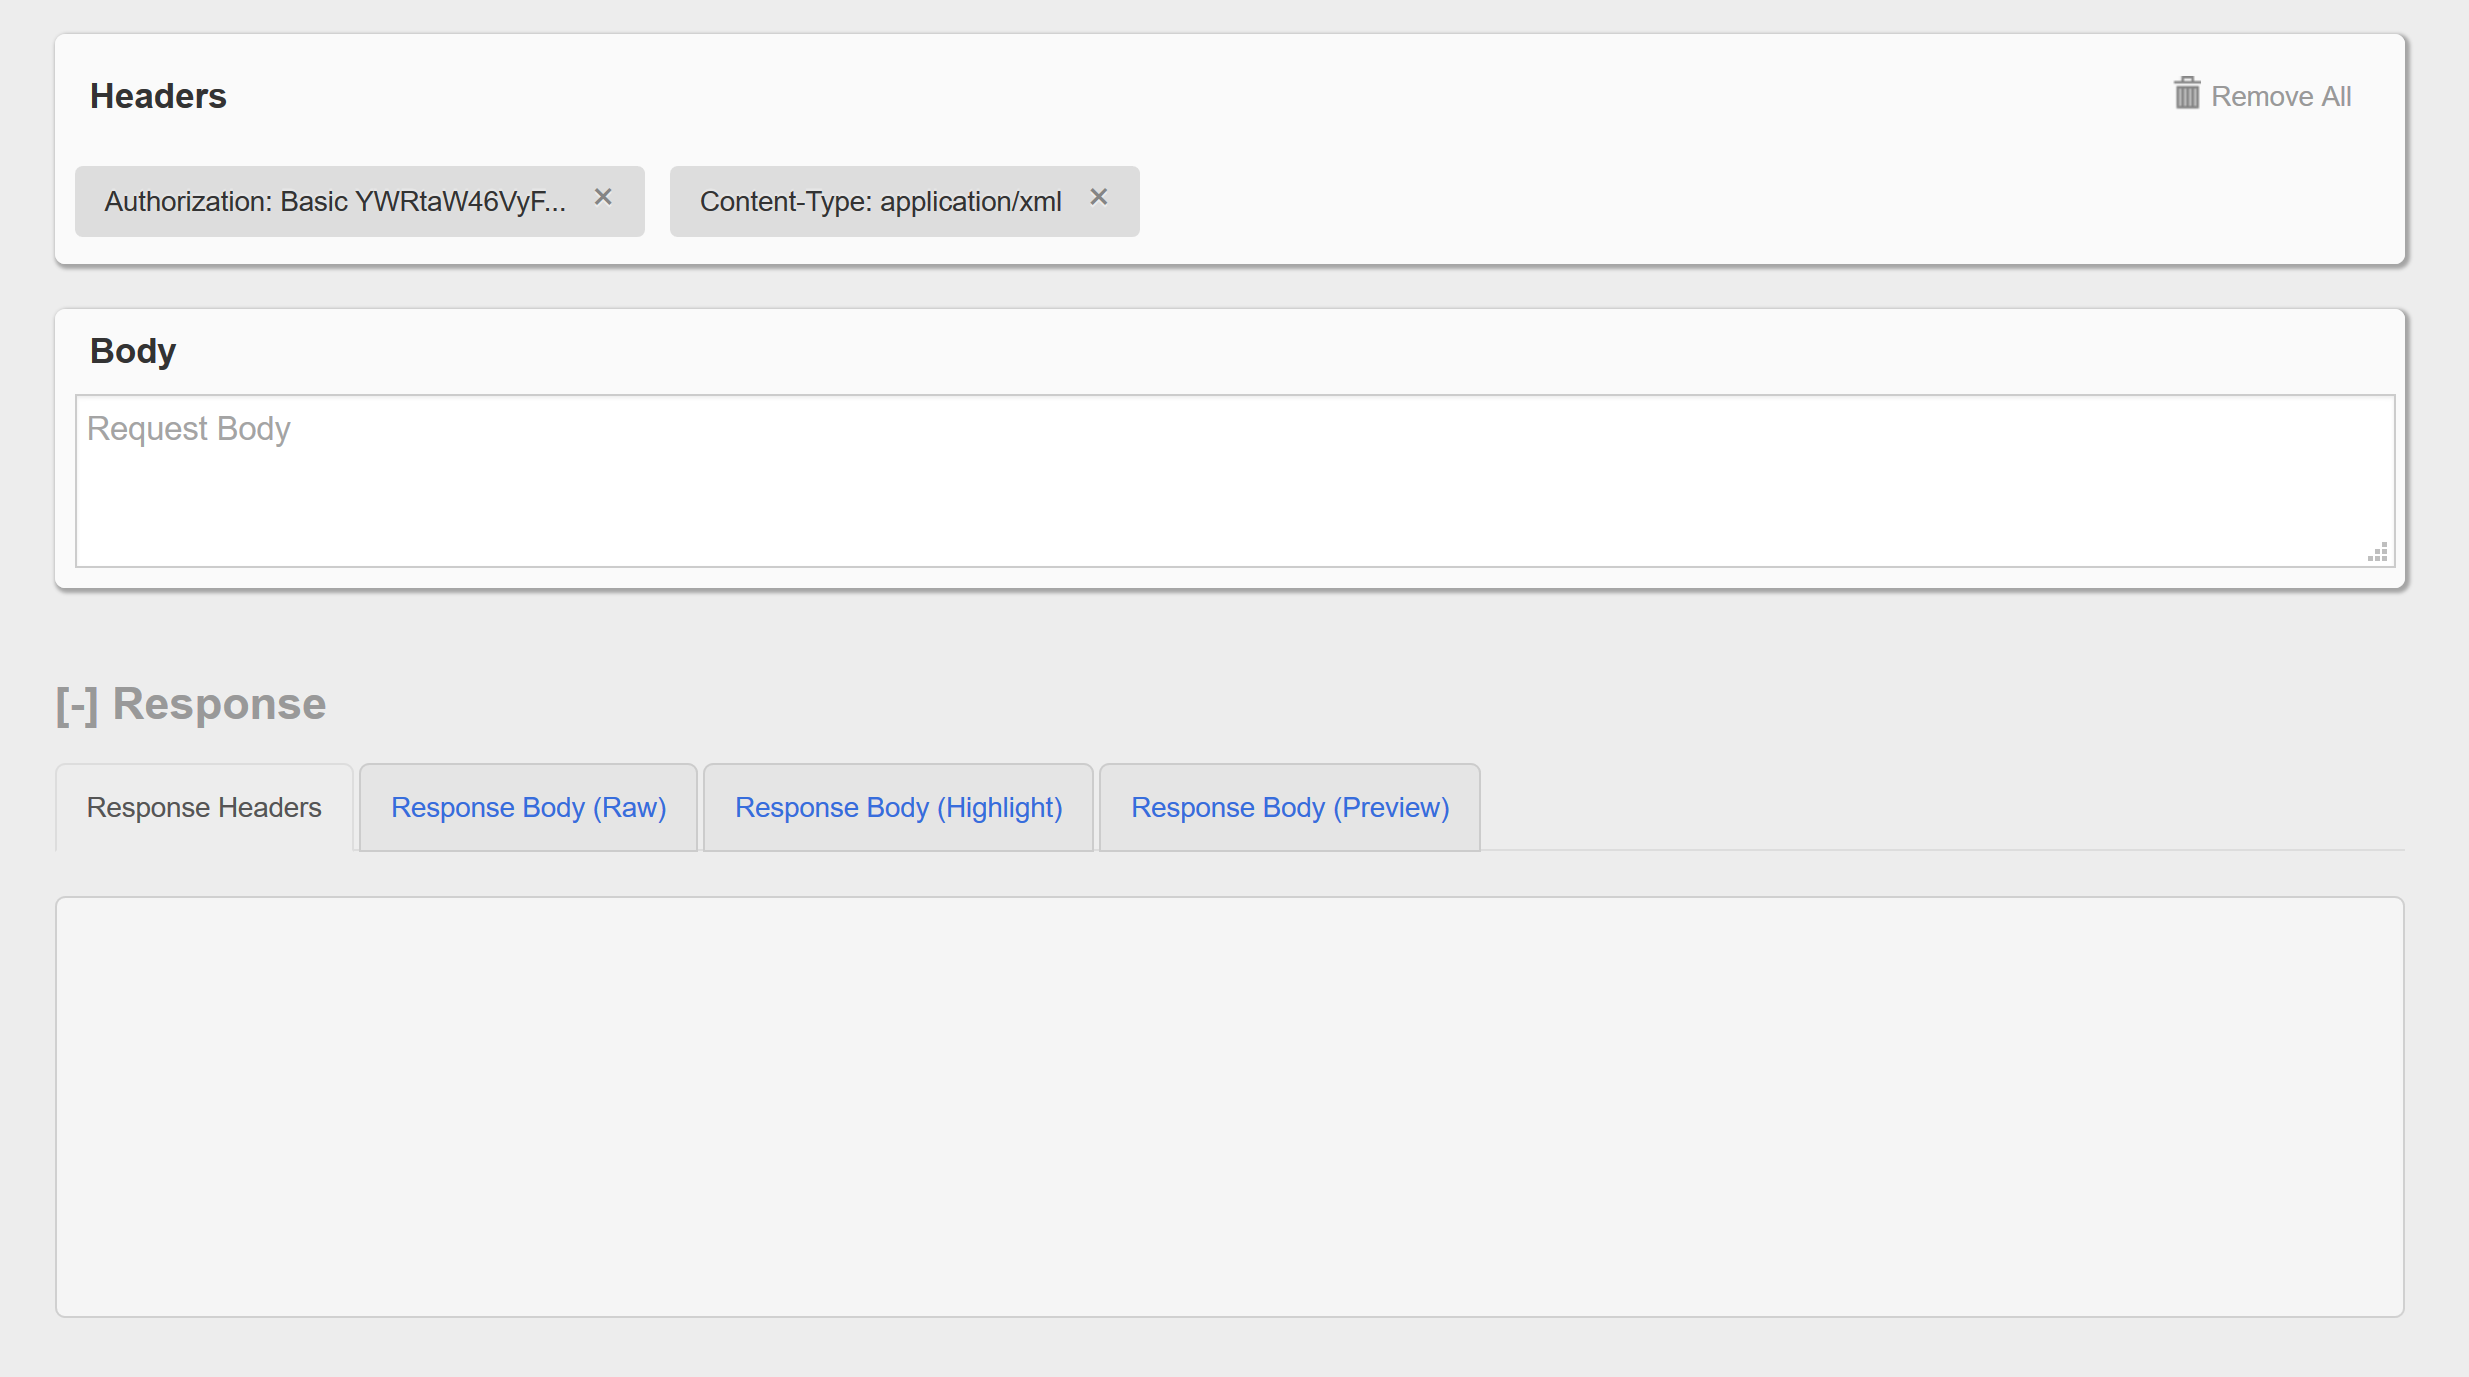
  1. Via API Explorer (this can be done via postman but written for API Explorer
  2. Search for vdcComputePolicies2
  3. Click try it out and paste in the below code block for the value/body
{  "description""128MB",  "name""video-ram-128",  "policyType":"VdcVmPolicy",  "extraConfigs": {    "svga.vramSize""134217728"  }}

A new VM Sizing Policy has been created, now what?

  1. Navigate to Resources > Cloud Resources > Organization VDCs
  2. Click the name of the OVDC that requires this policy
  3. Navigate to VM Sizing within the OVDC properties that are now open to add the newly created policy

FAQ

  • Does this persist via catalog item transfer?
    • No, in current(10.3.2.x, 10.4 and 10.5) VCD versions this does not persist and needs to be assigned on the destination VM(s)
  • Why not just adjust the video memory in the VCD UI and save the API trouble?
    • This setting is not support in the VCD UI in current versions at the time of writing this
  • Can the memory in the policy be adjusted after creation?
    • No, that is a fixed value once created and would require a new policy if a different video memory value is required
  • Can this policy be assigned to catalog items?
    • Yes, each VM within a vApp template can be “tagged” with a compute policy aka VM sizing policy
    • ^Really? Even to subscribed catalogs?
      • Yes, really. In 10.4 and 10.5 versions I’ve tested

VMware Cloud Director(VCD) 10.4.x and 10.5 VM Guest Properties changes. Appliance VM password not saved

For many years appliance VMs (think unsupported nested VMware Appliances) within VCD that have guest properties exposed, would have the password stored in clear text and that would capture into the vApp template and persist transfer between VCD instances.

In VCD 10.4.x this password is no longer stored for security reasons. This is a great improvement but does hinder some automation. The deploy itself functions fine, the power on fails as the VM is checking to see if the appliance password that is required has been populated. In 10.5 the password is saved within the vApp template for the local instance. Once the content is moved to a different VCD instance, the password is no longer stored.

This can be fixed via API calls against the destination vApp template. For an example, template1 moves from VCD-A > VCD-B. The template has a VMware Aria appliance VM that requires a password and will no longer power on if deployed.

To update template1 in the destination the API can be used. The VM ID is required to make the API calls. Quick cheat is to grab the ID from the URL when you are clicked on a specific VM inside of a vApp template when the VM is clicked on within the UI

Using postman (great example here) authenticate to the API.

From the above screenshot within the URL we see vm-491f60d2-3ef5-48da-9819-2be5e1f809a7, using this ID we can do a GET to ensure the VM is what we want to edit and using the returned body we will modify it to add password lines for this template:

https://bblab-vcd01.com/api/vAppTemplate/vm-491f60d2-3ef5-48da-9819-2be5e1f809a7/productSections

Sample output

<?xml version="1.0" encoding="UTF-8" standalone="yes"?>
<ProductSectionList xmlns="http://www.vmware.com/vcloud/v1.5" xmlns:vmext="http://www.vmware.com/vcloud/extension/v1.5" xmlns:ovf="http://schemas.dmtf.org/ovf/envelope/1" xmlns:vssd="http://schemas.dmtf.org/wbem/wscim/1/cim-schema/2/CIM_VirtualSystemSettingData" xmlns:common="http://schemas.dmtf.org/wbem/wscim/1/common" xmlns:rasd="http://schemas.dmtf.org/wbem/wscim/1/cim-schema/2/CIM_ResourceAllocationSettingData" xmlns:vmw="http://www.vmware.com/schema/ovf" xmlns:ovfenv="http://schemas.dmtf.org/ovf/environment/1" xmlns:ns9="http://www.vmware.com/vcloud/versions" href="https://bblab-vcd01.com/api/vAppTemplate/vm-491f60d2-3ef5-48da-9819-2be5e1f809a7/productSections/" type="application/vnd.vmware.vcloud.productSections+xml">
    <Link rel="edit" href="https://bblab-vcd01.com/api/vAppTemplate/vm-491f60d2-3ef5-48da-9819-2be5e1f809a7/productSections/" type="application/vnd.vmware.vcloud.productSections+xml"/>
    <Link rel="edit" href="https://bblab-vcd01.com/api/vAppTemplate/vm-491f60d2-3ef5-48da-9819-2be5e1f809a7/productSections/" type="application/vnd.vmware.vcloud.productSections+json"/>
    <ovf:ProductSection ovf:class="vami" ovf:instance="VMware_Aria_Suite_Lifecycle_Appliance" ovf:required="false">
        <ovf:Info>Information about the installed software</ovf:Info>
        <ovf:Category>Networking Properties</ovf:Category>
        <ovf:Property ovf:key="netmask0" ovf:type="string" ovf:userConfigurable="true" ovf:value="" ovf:password="false">
            <ovf:Label>Network 1 mask</ovf:Label>
            <ovf:Description>The network mask for this interface.</ovf:Description>
            <ovf:Value ovf:value="255.255.255.0"/>
        </ovf:Property>
        <ovf:Property ovf:key="ip0" ovf:type="string" ovf:userConfigurable="true" ovf:value="" ovf:password="false">
            <ovf:Label>Network 1 IP Address</ovf:Label>
            <ovf:Description>The IP address for this interface.</ovf:Description>
            <ovf:Value ovf:value="192.168.110.75"/>
        </ovf:Property>
        <ovf:Property ovf:key="DNS" ovf:type="string" ovf:userConfigurable="true" ovf:value="" ovf:password="false">
            <ovf:Label>Domain Name Servers</ovf:Label>
            <ovf:Description>The domain name server IP Addresses for this VM (comma separated). (from the IP Pool associated with the vSphere network mapped to the 'Network 1' network)</ovf:Description>
            <ovf:Value ovf:value="192.168.110.10"/>
        </ovf:Property>
        <ovf:Property ovf:key="searchpath" ovf:type="string" ovf:userConfigurable="false" ovf:value="" ovf:password="false">
            <ovf:Label>Domain Search Path</ovf:Label>
            <ovf:Description>The domain search path (comma or space separated domain names) for this VM. (from the IP Pool associated with the vSphere network mapped to the 'Network 1' network)</ovf:Description>
            <ovf:Value ovf:value=""/>
        </ovf:Property>
        <ovf:Property ovf:key="domain" ovf:type="string" ovf:userConfigurable="true" ovf:value="" ovf:password="false">
            <ovf:Label>Domain Name</ovf:Label>
            <ovf:Description>The domain name of this VM. (from the IP Pool associated with the vSphere network mapped to the 'Network 1' network)</ovf:Description>
            <ovf:Value ovf:value=""/>
        </ovf:Property>
        <ovf:Property ovf:key="gateway" ovf:type="string" ovf:userConfigurable="true" ovf:value="" ovf:password="false">
            <ovf:Label>Host Network Default Gateway</ovf:Label>
            <ovf:Description>The default gateway address for this VM. (from the IP Pool associated with the vSphere network mapped to the 'Network 1' network)</ovf:Description>
            <ovf:Value ovf:value="192.168.110.1"/>
        </ovf:Property>
    </ovf:ProductSection>
    <ovf:ProductSection ovf:class="" ovf:instance="" ovf:required="true">
        <ovf:Info>Information about the installed software</ovf:Info>
        <ovf:Product>VMware Aria Suite Lifecycle Appliance</ovf:Product>
        <ovf:Vendor>VMware Inc.</ovf:Vendor>
        <ovf:Version>8.12.0.7</ovf:Version>
        <ovf:FullVersion>8.12.0.7 Build 21628952</ovf:FullVersion>
        <ovf:VendorUrl>http: //www.vmware.com</ovf:VendorUrl>
        <ovf:Category>Application</ovf:Category>
        <ovf:Property ovf:key="vm.vmname" ovf:type="string" ovf:userConfigurable="false" ovf:value="VMware_Aria_Suite_Lifecycle_Appliance" ovf:password="false">
            <ovf:Label>Virtual Machine Appliance Name</ovf:Label>
            <ovf:Description>Virtual Machine Appliance Name</ovf:Description>
            <ovf:Value ovf:value="VMware_Aria_Suite_Lifecycle_Appliance"/>
        </ovf:Property>
        <ovf:Property ovf:key="va-ntp-servers" ovf:type="string" ovf:qualifiers="MinLen(0),MaxLen(65535)" ovf:userConfigurable="true" ovf:value="" ovf:password="false">
            <ovf:Label>Provide NTP Server for the appliance</ovf:Label>
            <ovf:Description>A comma-separated list of NTP servers to be used for time synchronization.</ovf:Description>
            <ovf:Value ovf:value="192.168.110.1"/>
        </ovf:Property>
        <ovf:Property ovf:key="va-fips-enabled" ovf:type="boolean" ovf:userConfigurable="true" ovf:value="true" ovf:password="false">
            <ovf:Label>Enable FIPS mode</ovf:Label>
            <ovf:Description>Enable FIPS mode for services and libraries in the appliance.</ovf:Description>
            <ovf:Value ovf:value="true"/>
        </ovf:Property>
        <ovf:Property ovf:key="va-telemetry-enabled" ovf:type="boolean" ovf:userConfigurable="true" ovf:value="true" ovf:password="false">
            <ovf:Label>Join the VMware Customer Experience Improvement Program</ovf:Label>
            <ovf:Description>VMware's Customer Experience Improvement Program ("CEIP") provides VMware with information that enables VMware to improve its products and services, to fix problems, and to advise you on how best to deploy and use our products.  As part of the CEIP, VMware collects technical information about your organization's use of VMware products and services on a regular basis in association with your organization's VMware license key(s).  This information does not personally identify any individual. Additional information regarding the data collected through CEIP and the purposes for which it is used by VMware is set forth in the Trust &amp; Assurance Center at http: //www.vmware.com/trustvmware/ceip.html.  If you prefer not to participate in VMware's CEIP for this product, you should uncheck the box below. You may join or leave VMware's CEIP for this product at any time.</ovf:Description>
            <ovf:Value ovf:value="false"/>
        </ovf:Property>
        <ovf:Property ovf:key="va-firstboot-enabled" ovf:type="boolean" ovf:userConfigurable="true" ovf:value="true" ovf:password="false">
            <ovf:Label>Enable first boot for vrlcm</ovf:Label>
            <ovf:Description>This will be used as an initial status of the firstboot in the appliance. You can change it later from the appliance Web console.</ovf:Description>
            <ovf:Value ovf:value="true"/>
        </ovf:Property>
        <ovf:Property ovf:key="va-ssh-enabled" ovf:type="boolean" ovf:userConfigurable="true" ovf:value="true" ovf:password="false">
            <ovf:Label>Enable SSH service in the appliance</ovf:Label>
            <ovf:Description>This will be used as an initial status of the SSH service in the appliance. You can change it later from the appliance Web console.</ovf:Description>
            <ovf:Value ovf:value="true"/>
        </ovf:Property>
        <ovf:Property ovf:key="varoot-password" ovf:type="string" ovf:qualifiers="MinLen(8),MaxLen(256)" ovf:userConfigurable="true" ovf:value="" ovf:password="true">
            <ovf:Label>Initial root password</ovf:Label>
            <ovf:Description>This will be used as an initial password for the root user account.</ovf:Description>
        </ovf:Property>
        <ovf:Property ovf:key="vami.hostname" ovf:type="string" ovf:qualifiers="MinLen(0),MaxLen(65535)" ovf:userConfigurable="true" ovf:value="" ovf:password="false">
            <ovf:Label>Hostname</ovf:Label>
            <ovf:Description>The host name for this virtual machine. Provide the fully qualified domain name if you use a static IP. Leave blank to try to reverse look up the IP address if you use DHCP.</ovf:Description>
            <ovf:Value ovf:value="aria-lifecycle"/>
        </ovf:Property>
    </ovf:ProductSection>
</ProductSectionList>

Focusing on the bottom section in this templates case, we are looking for only a single password:

        <ovf:Property ovf:key="varoot-password" ovf:type="string" ovf:qualifiers="MinLen(8),MaxLen(256)" ovf:userConfigurable="true" ovf:value="" ovf:password="true">
            <ovf:Label>Initial root password</ovf:Label>
            <ovf:Description>This will be used as an initial password for the root user account.</ovf:Description>
            <ovf:Value ovf:value="Vmware1!VMware1!"/>
        </ovf:Property>
        <ovf:Property ovf:key="vami.hostname" ovf:type="string" ovf:qualifiers="MinLen(0),MaxLen(65535)" ovf:userConfigurable="true" ovf:value="" ovf:password="false">
            <ovf:Label>Hostname</ovf:Label>
            <ovf:Description>The host name for this virtual machine. Provide the fully qualified domain name if you use a static IP. Leave blank to try to reverse look up the IP address if you use DHCP.</ovf:Description>
            <ovf:Value ovf:value="aria-lifecycle.corp.vmbeans.com"/>
        </ovf:Property>
    </ovf:ProductSection>
</ProductSectionList>

Using the entire modified “BODY” from the example and adding in the specific password line in the second code block then use a PUT against the API

https://bblab-vcd01.com/api/vAppTemplate/vm-491f60d2-3ef5-48da-9819-2be5e1f809a7/productSections 

Once that is successful then all should be good and new deploys from that template it should power on without issue. The password should persist in newer versions of 10.5.x and more updates will be posted here

VCF Upgrade of NSX-T: Post Upgrade Validation fails error_message : No backup schedule provided in config, httpStatus : BAD_REQUEST, error_code : 29204

While trying to finish a NSX-T upgrade within VCF, it failed on the post upgrade check. Turns out, it was looking to see if the backup job was scheduled. Seeing that error, it seemed simple to enable within the UI. Navigating to the UI the “Schedule Recurring Backup” Menu seemed to die and never actually came back, so scheduling via the UI was not possible.

Looking around and trying to use powershell did not result in a quick fix, so checking out the API, it turns out there is a simple command to check backup config:

#Done in Postman: 
GET https://bblab-nsxt.bblab.com/api/v1/cluster/backups/config

Using the results from above and seeing what is required from the API guide:

#Done in Postman:
PUT https://bblab-nsxt.bblab.com/api/v1/cluster/backups/config

#BODY:
{
   "backup_enabled" : true,
   "backup_schedule":{
      "resource_type": "WeeklyBackupSchedule",
      "days_of_week":[
         1,
         3,
         5
      ],
      "hour_of_day":0,
      "minute_of_day":0
   },
    "remote_file_server": {
        "server": "bblab-backup1.bblab.com",
        "port": 22,
        "protocol": {
            "protocol_name": "sftp",
            "ssh_fingerprint": "SHA256:8rSvQEq8d8D*9389D8jKJDjk89dqZP0",
            "authentication_scheme": {
                "scheme_name": "PASSWORD",
                "username": "adminofbackups"
            }
        },
        "directory_path": "/nsxt-backup/bblab-nsxt"
    }
}

The above PUT command worked without issue, now VCF can finish the post upgrade check and all went well

NSX API tips and guides

Lately I’ve been working more with the API for multiple versions of NSX with my colleague @VirtSouthWest. Here are a couple of of API calls that we have been using which are something I’d like to keep track of for future configurations and hope they help someone else:

To get started you need a REST API Client/plugin, here is one I use that works with FireFox – RESTCLIENT

Once you have that installed you are ready connect to your NSX manager. If you have a self signed cert you may need to go to the NSX Manager and accept the “not secure connection”. That is something good to check if you get a response like the one below:

api-auth-fail

Once you accept the security warning you and ensure you have the correct Authorization and Header in place you should get a 200 OK response as shown below:

api-auth-200ok

Here is a sample configuration of what you would send to a NSX manager API to configure Syslog. Make sure to specify the protocol TCP/UDP) and which port you have your syslog configured on, the standard being 514.

<syslogserver>
<syslogServer>Syslog-Server-FQDN/IP</syslogServer>
<port>514</port> - Port Configured on your Syslog Server
<protocol>UDP</protocol> - TCP/UDP
</syslogserver>

Here is a sample configuration of what you would send to a NSX manager API to configure NTP, you can configure 2 NTP servers using IP or FQDN which is great for redundancy.


<timeSettings>
<ntpServer>
<string>NTPServer-IP1</string><string>time1.google.com</string> - You can configure 2 NTP Servers
</ntpServer>
<timezone>UTC</timezone>
</timeSettings>

From the limited experince I have the backups are small ranging from 10-40MB.

Please note that once they reach their destination you configure they stay there and NSX does not currently clean up the backups. Meaning if you configure a backup job to run daily, after 1 year you will have 365 backups. This can take a while to load on the backup/restore screen. Please configure a job on the destination end to cleanup the backup jobs as needed. NSX will reflect these backups being gone and the list will be come shorter/load faster.

Here is a sample configuration of what you would send to a NSX manager API to configure scheduled Backups. In the example I have the time scheduled for 19:50 and for each manager you can configure the backup time. I have mine set to be staggered every 5 minutes.

Replace the following fields(Snip from the API Guide 6.2 below):

transferProtocol: FTP, SFTP

frequency: weekly, daily, hourly

dayOfWeek: SUNDAY, MONDAY, …., SATURDAY(Not in my example below)

Hour of Day: [0 ‐ 24 [  Minute of hour: [0 ‐ 60 [

Exclude Tables: AUDIT_LOG, SYSTEM_EVENTS, FLOW_RECORDS

The tables specified in the excludeTables parameter are not backed up.

<backupRestoreSettings>
<ftpSettings>
<transferProtocol>FTP</transferProtocol>
<hostNameIPAddress>Backup-Destination/IP-Address</hostNameIPAddress>
<port>21</port>
<userName>FTPUSER</userName><password>Password-for-FTPUSER</password>
<passPhrase>passPhrase</passPhrase> - For the backup file to restore
<backupDirectory>NSXBackupDir/</backupDirectory>
<filenamePrefix>NSX-Manager1-</filenamePrefix>
<passiveMode>true</passiveMode>
<useEPRT>false</useEPRT>
<useEPSV>true</useEPSV>
</ftpSettings>
<backupFrequency>
<frequency>DAILY</frequency>
<hourOfDay>19</hourOfDay>
<minuteOfHour>50</minuteOfHour>
</backupFrequency>
<excludeTables>
<excludeTable>AUDIT_LOGS</excludeTable>
<excludeTable>SYSTEM_EVENTS</excludeTable>
</excludeTables>
</backupRestoreSettings>

There are many of other things you can do via the NSX API and the above are just some some calls to get started. You can create controllers, controller backups, edges, etc.. Please review the guides below for the version you have.

API Guides link for different versions:

NSX 6.0.4 Guide

NSX 6.2 Guide